pages

Thursday, January 31, 2013

Skinny Chocolate and Peanut Butter Swirl Brownies


So one thing I have tried to do this year is to take my recipes and try to make them healthier. Not only that, my youngest boy has started to rebel and not eat his vegetables. I have never had to deal with this before. My oldest is one of the most adventurous eaters I have ever known. He is always up for tasting anything once....sometimes twice just to make sure he does or doesn't like it. My youngest, well lets just say that there have been many nights he has sat at the table for 30 or so minutes after everyone else has been dismissed just because he wont take one bite of his vegetables. I have never met such a strong-willed child ever. 

So, I still continue with the one bite rule, since he is only 3 I try not to force too much on him, but I have also got a little sneakier with adding vegetable puree to foods that I know that he will eat. Brownies, what kid turns down brownies...not mine!  Now once you find out what the main ingredient is in these brownies, don't put up your nose and stop reading. I promise you, these are some of the best tasting brownies I have had. Now they aren't going to be your super chunky, double fudge, gooey, caramel centered brownies, but they will satisfy that sweet tooth amazingly. 

Black Bean Brownie Ingredients:

1 Can Black Beans
1 Egg
1/4 Cup Eggwhites (or 3 Eggs in total)
1/3 Cup Pumpkin Puree (or unsweetened apple sauce)
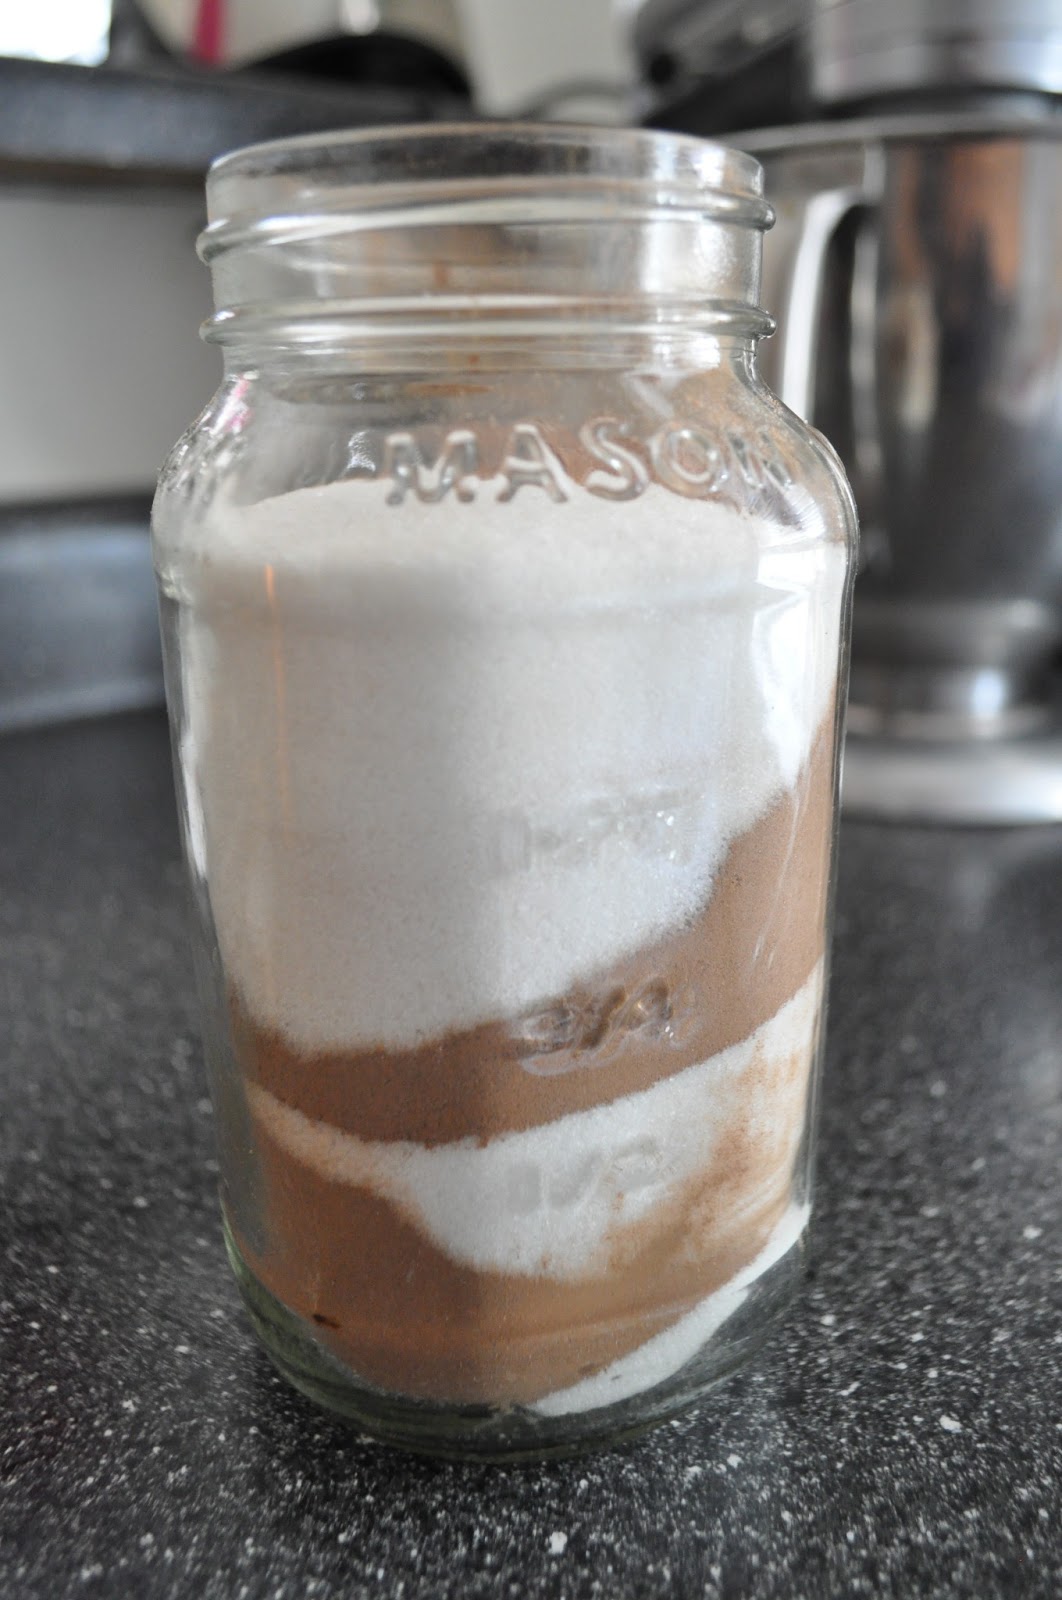
1/2 Cup Natural Cocoa Powder
1/4 Tsp Sea Salt
2 Tsp Vanilla Extract
1/4 Cup Honey
2 Tbsp Maple Syrup
1 1/2 Tsp Instant Coffee
1 Tsp Baking Powder
1/4 Cup Dark Chocolate Chips (more if you wish)

Peanut Butter Swirl Ingredients:
1/3 Cup Peanut Butter
1 Tbsp Honey
Pinch of Salt
Dash of Vanilla Extract

Pre-heat your oven to 350 F.
Place all black bean brownie ingredients into your food processor and blend until smooth.
Spray an 8×8 baking dish with a healthy, non-stick cooking spray.
Evenly spread batter into baking dish.


On your stove-top melt peanut butter swirl ingredients and mix.
Dollop peanut butter swirl mixture with a spoon spaced out about an inch from each other onto the brownie batter.


Pull a knife back and forth through the batter creating your swirls.
Place in the oven and bake for 30-40 minutes.


Remove from oven when baked and let set in the baking dish for about 10 minutes.
Gently cut brownies, serve and enjoy!
To store brownies it is best to first let them cool completely and then store them in a sealed tight container in the refrigerator.


Wednesday, January 30, 2013

Lemon water


First thing I do every morning is drink a large glass of lemon water. Not only do I love the taste of lemon water but there are many benefits in drinking it. It balances PH, keeps your skin clear and glowing, it kick starts your digestive system, helps with weight loss, and helps to control your coffee habit. Lemon is also a natural energizer, it hydrates and oxygenates the body so it feels revitalized and refreshed! Lemon water is an excellent source of anti-oxidants and vitamin C, which prevents formation of free radicals. These free radicals can cause death of the cells and rob electrons. It’s an excellent remedy for a hangover. Go on give it a try!
Its good for your stomach
Lemon can help relieve many digestion problems when mixed with hot water. These include nausea, heartburn and parasites. Due to the digestive qualities of lemon juice, symptoms of indigestion such as heartburn, bloating and belching are relieved.
Great for your skin
Lemon is a vitamin C rich citrus fruit that enhances your beauty, by rejuvenating skin from within and thus bringing a glow on your face. Daily consumption of lemon water can make a huge difference in the appearance of your skin. It acts as an anti-aging remedy and can remove wrinkles and blackheads. 
Helps with throat infections
Lemon is an excellent fruit that aids in fighting problems related to throat infections, sore throat and tonsillitis as it has an antibacterial property. For sore throat, dilute one-half lemon juice with one-half water and gargle frequently.
Aids in weight loss
One of the major health benefits of drinking lemon water is that it paves way for losing weight faster, thus acting as a great weight loss remedy. If a person takes lemon juice mixed with lukewarm water and honey, it can reduce the body weight as well.
Helps reduce fever
Lemon water can treat a person who is suffering from cold, flu or fever. It helps to break fever by increasing perspiration.


Monday, January 28, 2013

Recreate: Almond Joy Lattes

A couple weekends ago I went out for an afternoon with a friend and our journey started at one of our favorite coffee hangouts, Port City Java. 

Ever since I have been introduced to Port City, it has quickly risen to the top of my list for coffee go-to's and has far surpassed my love for Starbucks, gasp! But Starbucks will always have my heart when it comes to pumpkin spice and eggnog lattes...no one does those like Starbucks.

Normally, I am just a large coffee, cream and sugar girl but my friend told me I had to try a drink called the Almond Joy. Oh yum. Let me tell you, one of the best lattes I have ever had. The downside, they are almost $5 a pop. That didn't stop me though. For almost a week, I stopped by and got one. I loved them so much I even instagrammed them, another one of my guilty pleasures.


Once I realized I had spent over $30 on these, I knew I had to find another way to fulfill this craving. So I started experimenting and came up with one of the best knock-offs I have ever created. 

Here is what you need:

  • 1/4 oz almond syrup
  • 1/4 oz chocolate syrup
  • 1/4 oz coconut syrup
  • Espresso (as little or as much as you want)
  • milk
  • whipped cream


Measure out the 3 different syrups and pour into your mug.
Add espresso.
Fill the mug the rest of the way with warm, steamy milk...leaving room for whipped cream.

Friday, January 25, 2013

Chocolate Chip Muffins


Let me tell you…chocolate is the root of all evil, well  for me it is. I cannot go a day without some kind of chocolate. I know, I know, it is probably the one major reason why I actually work out. When I say I need it every day, my chocolate consumption usually consist of a small handful of dark chocolate chips out of the jar. I was cursed with an insatiable sweet tooth.

I try to find ways to incorporate chocolate into everyday foods I make but are still relatively healthy for me. The one thing that is always handy around my house are muffins. When I get in the mood for muffins, I bake until my heart is content, leave some out to eat and freeze the rest. Then wherever I want one, I can take it out, pop that baby in the microwave for a few seconds and voila, a nice warm muffin in about a minute!

So when I took my treasured chocolate chip muffin recipe and healthified, yep just made that up, it I was so impressed with how wonderful it turned out. I promise, these will not let you down and will satisfy any sweet tooth.

Here is what you are going to need:

·         1 cup whole wheat flour
·         ½ cup of good quality cocoa powder
·         2 tsp of baking powder
·         ¼ tsp of salt
·         ½ cup of sugar
·         1 cup of plain Greek yogurt
·         3 large eggs
·         1 tsp of good vanilla
·         ½ cup of unsweetened applesauce
·         ½ cup of dark chocolate chips

Preheat your oven to 350. Place your liners in the pan, this recipe makes about 16 muffins.

In a large bowl, sift flour, cocoa, baking powder and salt. Add the sugar and combine.

In a stand mixer, begin mixing yogurt, eggs, vanilla and applesauce.

Add the dry ingredients and mix until they are just combined. Do not over mix.

Fold about ½ of the chocolate chips in by hand.

Using an ice cream scoop, fill each liner with batter. With the other half of the chocolate chips, sprinkle them atop all the muffins.

Bake for 18-20 minutes.

Let them cool for a bit and enjoy!

Wednesday, January 23, 2013

All Natural Orange Vinegar Cleaner

Lately I have been testing a few cooking and cleaning ideas I have seen around pinterest, lately.  Some of them don't work, but some are great.  I found this cleaner with vinegar and orange peels to be a good one and thought I'd share it.

Here is a little info about the cleaner.

First of, this is definitely not a new idea. Vinegar has been used for cleaning for a long time.  My mom taught me to add it regularly to the laundry.  I sometimes run it in a dishwasher load, using it in the jet dry dispenser. 

Why does vinegar work? It is because vinegar is a mild acid and can dissolve mineral deposits.  This is why many people with hard water clean their shower heads with it.
Vinegar is also found to be 99% effective against germs and bacteria.

Orange oil, which is produced from the peel, is also an effective and all natural cleaner.
It works because it is a natural solvent.  Solvents get rid of gunk really well.

Now where you put the two together they make home-healthy, efficient cleaner. 
And the orange makes the smell of the vinegar more tolerable.

source

All you are going to need for this is:

  • A mason or canning jar with lid
  • White vinegar
  • Orange peels


Place you orange peels into your jar.

Pour in the white vinegar.

Leave some space at the top if you plan on adding more peels to the jar.

Close it up and leave it for a week to 2 weeks.

When it’s finished, take out the peels and put your orange infused vinegar into a spray bottle

Top it off with water.

Now you have 2 options, you can keep your cleaner strong or you can water it down.

If you follow the directions as-is, it will turn out to be a strong cleaner.

OR, you can use 50/50 water and orange-vinegar for a less strong cleaner. It is all up to you!


Saturday, January 19, 2013

Jalapeno and Cheddar Scones

Bread and plain biscuits can get a little old at the dinner table. This weekend while I was out, I decided to run into Trader Joes. Of course I bought a lot of unnecessary things, I was able to grab about a 1 lb of fresh jalapenos for about $2.

Now, I love jalapenos. One of my favorite snacks is to cut them in half and put a dollop of cream cheese in the middle. Peppers have more vitamin c in them them oranges, so I makes sure to try to eat a couple everyday.

It was a cold evening and it was the last day my husband was going to eat dinner with us before he had to leave again for work, so I thought I would cook up some of his favorite foods. My oldest asked for biscuits and I decided to get a little creative. 

I used 2 whole jalapenos and to my surprise, my 2 boys and husband demolished all the scones by the end of dinner...a success I might say.


Here is what you will need:
  • 1 1/3 cups all-purpose flour
  • 1/4 cup fine milled corn meal
  • 3 tablespoons sugar
  • 2 teaspoons baking powder
  • 1/2 teaspoon salt
  • Pinch cayenne pepper
  • 6 ounces (1 1/2 cups packed) shredded sharp cheddar cheese, divided (1 1/4 cup and 1/4 cup)
  • 2 tablespoons diced fresh jalapeños (more or less to taste)
  • 3/4 cup + 2 tablespoons heavy cream, plus extra for brushing


1. Preheat oven to 425°F. In a large bowl, whisk together the flour, corn meal, salt, sugar, cayenne, and baking powder. Stir in 1 1/4 cups of the grated cheddar cheese and the diced jalapeños.

2. Make a well in the center of the flour mixture. Pour in the cream. You just want everything to get wet enough so that the dough will be sticky and clumpy.


3. Turn the dough out onto a surface lightly dusted with flour. Knead the dough just a few times - maybe only three or four pushes. You just want it to come together.

4. Form the dough into a rectangle about 3/4-inch to an inch thick. Cut it in fourths and then cut each one in half making 8 triangles. 


5. Pace on a parchment lined baking sheet, with at least an inch or two between the biscuits. Brush the tops of the biscuits with a little more cream. Top the biscuits with a sprinkle of the remaining cheese.

6. Bake at 425°F for 11-12 minutes or until golden and the cheese is nicely melted.


Wednesday, January 16, 2013

Homemade Nesquik Mix


Every child I have ever met prefers chocolate milk over regular milk. Chocolate milk is definitely a staple in my house. My children have an issue gaining weight, how tragic right?!?, so I have always been told by there doctors to let them have chocolate milk made with whole milk because it could help put a couple pounds on them. Needless to say, I still have slightly underweight children. 

We have had every kind of chocolate milk mix in my house. Everything from the liquid form, the powdered, I even got on the Ovaltine kick there for awhile. 

Just like many other things I feed my children, one day I so happened to read the ingredients in the chocolate milk mix and it was a little disturbing to see all the crap, yep that's right crap, that goes into making it. Even I indulge in the occasional glass of chocolate milk and I was never aware of what goes into it.

There started my hunt on how to make my own! You are going to be so surprised on how easy it is to make, and probably wonder why you have been spending so much money on it at the store. I know I did. 


Grab a mason jar or any other container you have on hand. I try to keep an array of jars in my cabinet. This so happens to be a mason jar that my honey came in.


Grab your 3, yes that's right 3, ingredients. 

2/3 cup of sugar
1/3 cup of cocoa
just a pinch of salt

           Here is a single batch.                                                      This is a triple batch. 


Now shake!! And there you go. Your own homemade chocolate milk mix.

The only advice I give is that the mix has a small problem completely dissolving into the cold milk. So here is what you can do. Put a heaping tablespoon into your cup. Add a tiny bit of hot tap water and stir it, allowing the mix to dissolve. THEN add your cold milk. Go ahead, go enjoy a cold glass of chocolate milk this afternoon!


Monday, January 14, 2013

DIY Outdoor Chalkboard


When we moved to North Carolina, we were in the middle of transitioning out of the military. We had moved from Maryland and had no knowledge of the area we were moving to. We basically went were the job wanted us.

We moved into a quaint little cottage house only miles from the beach. We were falling in love with our new town.

While being in our rental, we have had to think of creative ways to make this house our home, while staying within the rules of our rental agency.  We have quite a small backyard with hardly any grassy area, thank goodness for the park across the street or my kids would be driving me bonkers.

The weather stays quite warm on the coast and I believe kids should stay outside, playing as much as possible but I also needed some ideas to help keep them busy in the small amount of yard we have. I came across this on pinterest and my children fell in love.  This is definitely on our weekend to-do list

here is what you are going to need:

  • a 4x6 sheet of plywood…you can get a piece as large or as small as you want
  • outdoor paint in the color that you want
  • non-sanded grout
  • mixing bucket
  • paintbrush


*you can totally by a can of chalkboard paint, but with some of it retailing around $25-$30 and only in select colors, with buying the ingredients to make your own you are able to customize the color and have a lot more paint handy for future projects.

First you are going to mix up your chalkboard paint. A good ratio would be 1 part grout to 8 parts paint. So for a large project like this I would mix 1 cup of grout to ½ gallon of paint. Mix, mix, mix your heart out and make sure that the grout is completely incorporated into the paint.

Once your paint is thoroughly mixed, paint your board. Give it two coats, letting it dry in-between coats.

You need to condition your chalkboard. Get it ready by rubbing the whole board down with chalk, then wiping it off with a dry cloth in circular motions.

Hang it up on your fence, deck rails, wherever you have room! Get ready to enjoy many hours outdoors with your children.


Saturday, January 12, 2013

Homemade Pop Tarts


The bright artificial colors, the ubber sweet frosting and the array of flavors and sprinkles attract all children to the pop tart aisle, mine included. I am not going to lie, me, the mom who actually tries to feed her children healthily, allow them to indulge in a pop tart now and then.

The other morning, as we were dashing out of the house for school, my oldest son said “here mom, I can’t finish it.” For some reason I ate it. Two things went through my mind, first these are disgusting and way too sweet, and the second was that I couldn’t believe that I was obsessed with pop tarts as a child.

I knew that I could find a way better alternative. I found a recipe online for homemade pop tarts, tweaked it a bit, and out came the most wonderful tasting sweet you could ever have in a breakfast treat. 

Here is what you will need:

for the pastry

2 cups of all purpose flour
1 tablespoon of sugar
1 teaspoon of vanilla
1 teaspoon of salt
2 sticks of unsalted butter
1 large egg
3 tablespoons of milk

for the filling

get creative! I used strawberry jam, lemon curd and nutella.  Fill with anything you want. About a heaping tablespoon of filling on each pop tart. 

Making the dough: In a mixer, food processor, or with your hands, blend together the flour, sugar and salt. Cut the cold butter into squares and work it in until you get small pea size balls in the dough. Whisk the egg, milk and vanilla in a separate bowl before you add them to the dough. Add the liquid to the dough. Mix, just enough to incorporate the liquid. Place the dough on a well floured surface and knead just a few times. Shape it into a ball, wrap and place in the refrigerator for about 10 mins so that the butter will stiffen back up. Take the dough out and split it in half. 


Roll the dough into a rectangle and cut into six to eight pieces, just depending on how thick you want your crust. 


Crack an extra egg and mix it in a separate bowl to use as an egg wash. Brush the egg wash onto half of the squares. If you have 6 squares brush 3 and if you have 8 brush 4. 


Now it is time to fill them. Add a heaping tablespoon of whatever filling you want to them! Keep a 1/2 inch perimeter around the edge so that you are able to close them. 


Place the top pastry on. To seal the edges, take a fork and press the edges together, all the way around. Then make sure to poke some holes in the top so that the dough stays nice and flat instead of proofing up. 


Place them on a parchment lined or lightly greased cookie sheet. Stick the cookie sheet in the refrigerator while your oven is pre-heating to 350. 

When the oven is pre-heated, stick the cookie sheet inside and let them bake for 20-25 minutes, until they are lightly browned. Let them cool on the pan.


These will stay fresh in an air tight container for about a week. What I like to do is make a large batch of them and freeze them unbaked in between waxed paper and bake them when they are wanted. 


Thursday, January 10, 2013

Cinnamon Roll Casserole


Finally, the weather is starting to look up here on the East coast. The sun is shining and the breeze is warm, it’s what the weather is supposed to be like on the coastline. 

I am absolutely blessed with an amazing group of women I am grateful to call friends. Today we all got together for a weekly meeting, which is always accompanied with food. So this morning I got up a little earlier than usual and decided to a make a breakfast casserole to take to our meeting. As I was enjoying the rush of my morning caffeine from a cup coffee and catching up on my morning reading, the house began to fill with the scent of cinnamon and maple syrup. What a way to start the day.

Nothing is better than a hot cup of coffee, you favorite of-the-moment book and a warm, gooey cinnamon roll. If only I could eat one every day.


Here is what you will need:

2 tbsp of butter, melted
2 large cans of refrigerated cinnamon rolls with icing
4 eggs
½ cup of heavy cream
2 tsp of ground cinnamon
1 tsp of ground nutmeg
2 tsp of vanilla
1 cup chopped pecans
¼ cup of maple syrup

Heat your oven to 375.
Place the butter into your 9x13 casserole dish
Cut each roll into 8 pieces.
Place the pieces into the casserole dish.
In a medium bowl, beat the eggs. Beat in the cream, cinnamon, nutmeg and vanilla until well blended.
Sprinkle with pecans and drizzle with maple sugar.
Bake for 25-28 minutes or until golden brown.
Let cool for about 5 minutes.
Drizzle the icing to the top and let melt onto the casserole.

If you like, add some extra maple syrup to each individual piece. 

Wednesday, January 9, 2013

Road trippin' activity basket


In just a week or so, I will be venturing out on my very first road trip with both kids alone. Scratch that, I have done it before but my youngest was an infant and slept the whole way and my oldest was glued to the DVD player. 

Now I have a 6 year old and a 3 year old, who is just on the verge of being fully potty trained and has to be doing something to constantly stay busy or he will turn into a terror. Thank goodness for the 3rd row seat in the van....I have a feeling it will come in handy around hour 3 or 4.

After scouring the internet for ideas to add to my road trip activity basket, I came across the coolest printables. My absolute favorite has to be the licenses plate game printable. I sat their reminiscing over the many road trips we took when I was younger and the countless hours we spent playing the licenses plate game. I had so much fun with the game I even developed a fondness for licenses plates. I have my plates from every state I have ever lived in...too many to count thanks to being raised as an Air Force brat and then marrying a Navy man. 


image


Having an activity basket in my car has been a savior at times. Even when we are just driving around town the boys seem to be digging through it looking for something to pass the time. If you don't have one, make one! I am sure it will get used almost everyday!

If you want to print out the whole packet, just click HERE and print away!

Monday, January 7, 2013

Being crafty with a touch of pink


I am a mom of two wild boys. I am the typical screaming soccer mom on the sidelines and I play the rogue lady zombie hunter hunting down all of the zombies that live in my backyard. I play with trains, cars, toy soldiers and the occasional Call of Duty on Xbox. When one of them gets hurt, I tell them to brush it off, I fish, hike and even go on the occasional hunt for Bigfoot, sometimes dressed in my husband’s old US Navy fatigues, per my boys request. Every day is an adventure being a mom of boys, but there is always that little desire that can only be filled with something pink and sparkly all wrapped up with a tea party.

This summer I was blessed with the most beautiful god-daughter! I was in girl heaven. Just as I was getting used to that beautiful face her parents up and move her 3 states away, thanks to the US Marine Corp. I cannot wait until our big move to Louisiana so that I can be closer to her.

Being around a girl has brought some very creative juices to the surface and I have found a magnificent blog for the crafty, or not so crafty, momma!

So sit back, get ready to scroll and become engrossed in everything girly. It even has me pondering a new addition to the family…..well maybe. After checking out the pictures, go over to one of my favorite blogs, flax & twine for the instructions and more cute diys. 

what girl doesn't love a cute strand of pearls
pearl cuff

lace headband

rose barrettes 

pearl combs

rhinestone combs

rose bracelt

Sunday, January 6, 2013

Lilly Pulitzer Monogram Wallpaper

The DIY Monogrammed phone wallpaper was a huge hit! I am so happy that ya'll loved it. So I decided to show you one more way to GIY, gram-it yourself, your phones wallpaper.

I love to monogram, so I thought I would give it its own little creative name, so I came up with gram-it yourself...a little more unique, just like the monos that you will create!

I have the option on my phone to have a different picture on the lock screen and home screen. The home screen always features my boys, occasionally my husbands face will make an appearance, but my boys handsome faces have priority and the lock screen is always covered in something pink and girly.

Make sure you save a copy of your print to your computer. I am going to show you many more things you can do with your new custom print! Everything from tags, email signatures, facebook photos, coffee mugs--the possibilities are endless


First you will need to go to Google and go explore all of the Lilly prints there are. Make sure to open your picture and save it to your computer. Now you can open it in any picture editing software that you want, I personally used pixlr.


Next you will select the shape that you want to hold your monogram. I chose a circle. Then select what size you would like your shapes border. Now select the color you want to use to fill in the color of your shape and the color of your border. This is the time to become friends with your undo button. Unfortunately, when you go to place your shape, all you will see representing your shape is a very small black line. If it is not where you want it, undo it and start again. It took me about 4 times to get it exactly where I wanted it.


When you have your shape just where you want it, start playing with your font. Make sure to make the center letter, your last initial, the largest letter. 


Now you can save it like this or since I am addicted to the snipping tool, I just snipped out the portion that I wanted and saved that to my computer. Again, just email it to yourself and and upload it as your phones wallpaper.